Let us help
Related articles
Thinking of selling your product on Facebook?, here is a step by step guide and a few tips
Getting customers to your Website, can be a challenge for many Tourism operators. You need a robust website, effective SEO, engaging content and an online booking system to start with. You then also need a Social Media strategy, be active on the channels your customers are using, all whilst running and operating a business. I do recall earlier in my career a marketing executive saying to me “Wendy, marketing is not that hard, it’s all about delivering the right message, to the right people at the right time” That was before Social Media, smart phones and a society obsessed with instant gratification.
I’ve always known that Facebook isn’t the best platform for business to business communication and that it works better for business to consumer, which applies to our membership base, so I have persevered with Facebook as opposed to LinkedIn.
The post is about setting up a “shop” in Facebook, how I went about it and how you can benefit from doing the same.
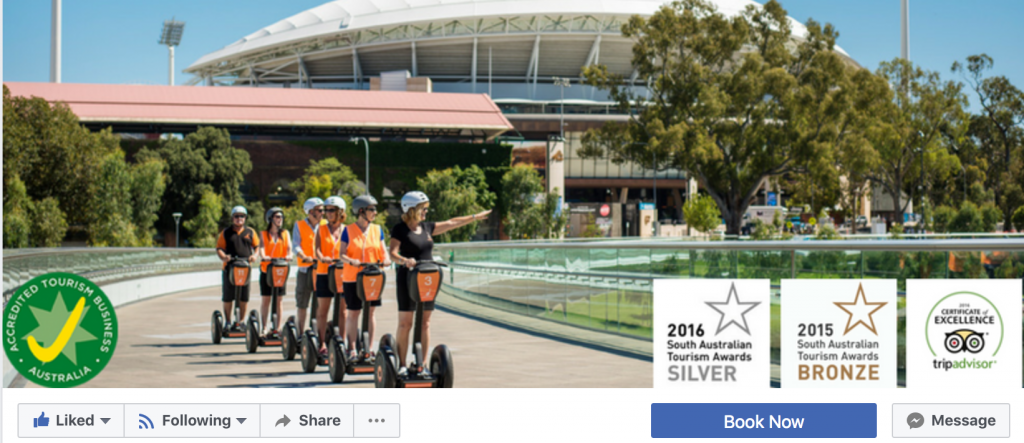
The is not the same function as the “book” blue button seen here below
What are the benefits of setting up a “shop” in Facebook?
- It’s free to set up
- It’s relatively quick and easy to set up
- It’s flexible
- You can promote your products in your newsfeed to gain more exposure, so you can create specials etc.
What do you need?
- A Facebook business page
- Administration rights to that business page
- Something to “sell”
- A basic understanding of Facebook
- An online booking system to convert the enquiries
- 30 minutes – an offer, price point and inclusions and a relevant image
For the purposes of this post, I created the 3 membership types we have on sale at the Tourism Tribe and linked them to our membership page. You could set up tour types, attraction entry fees or a room type and link it to the booking page on your Website for conversion.
As I am all about brand consistency, I would try and use images and language that make sense to the consumer as they move from Facebook to your booking page, for example the same image, will give the consumer comfort that they have arrived at the right place.
Here is how to set it up
Go to your Facebook business page, on the left hand side menu you’ll find “Shop”
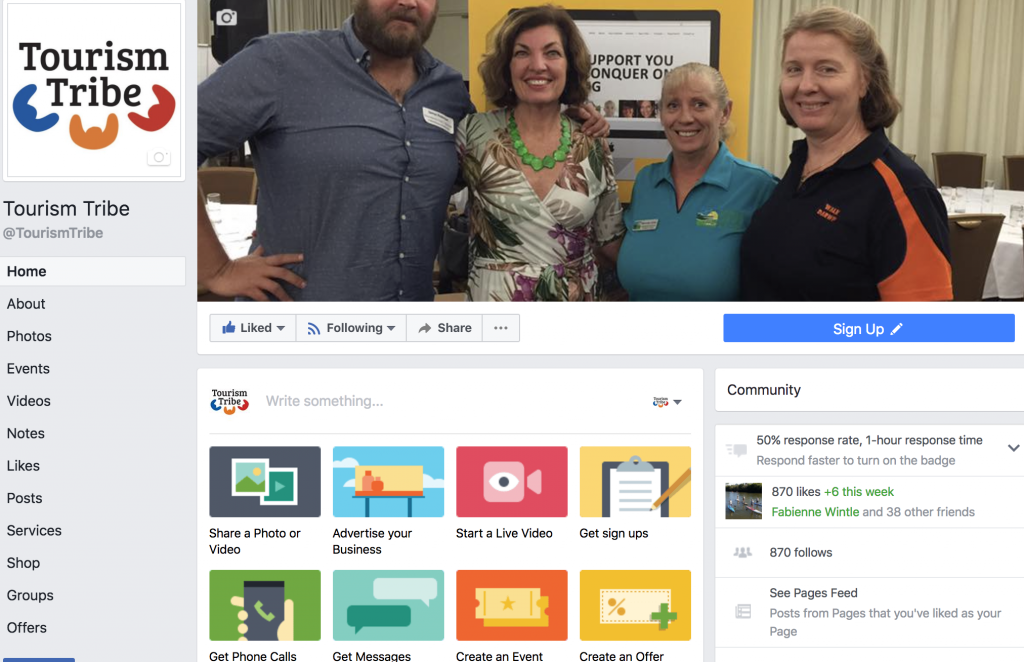
Go to all products and “add product”

You’ll then see the “add product”
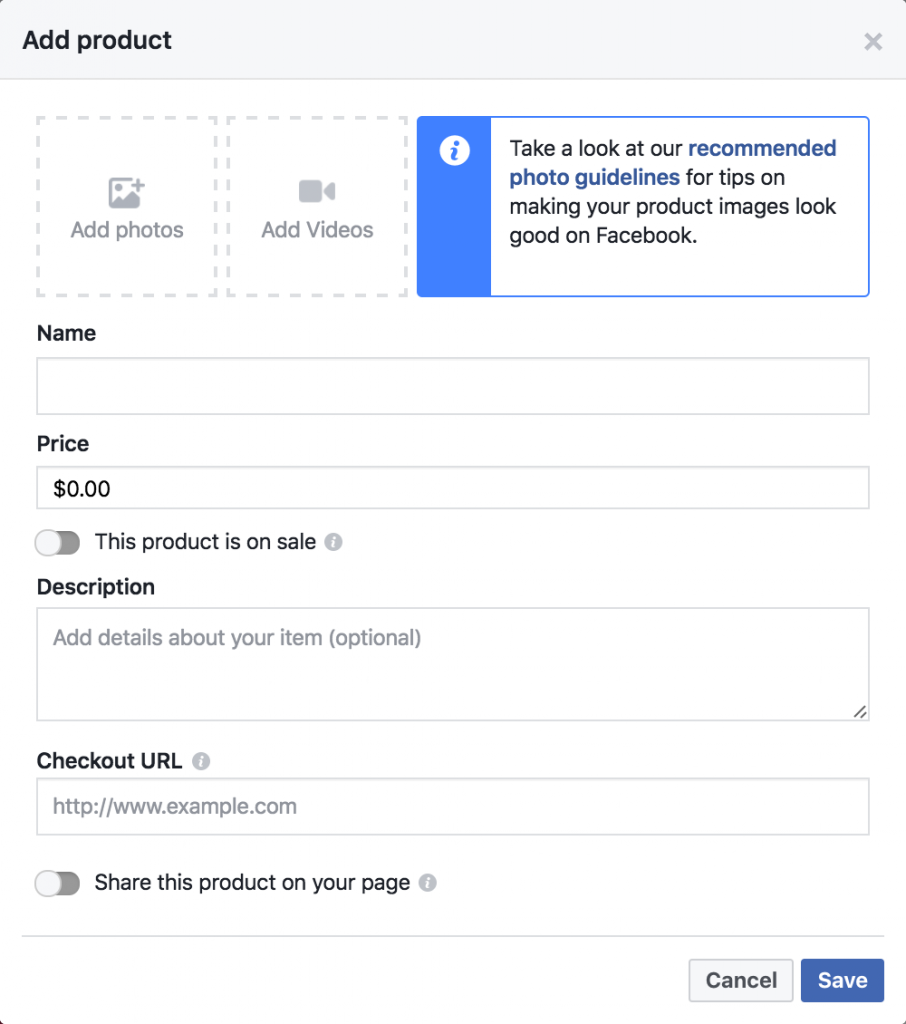
You can then add an image or video to the product from your Facebook page or Desktop, just click to add and select.
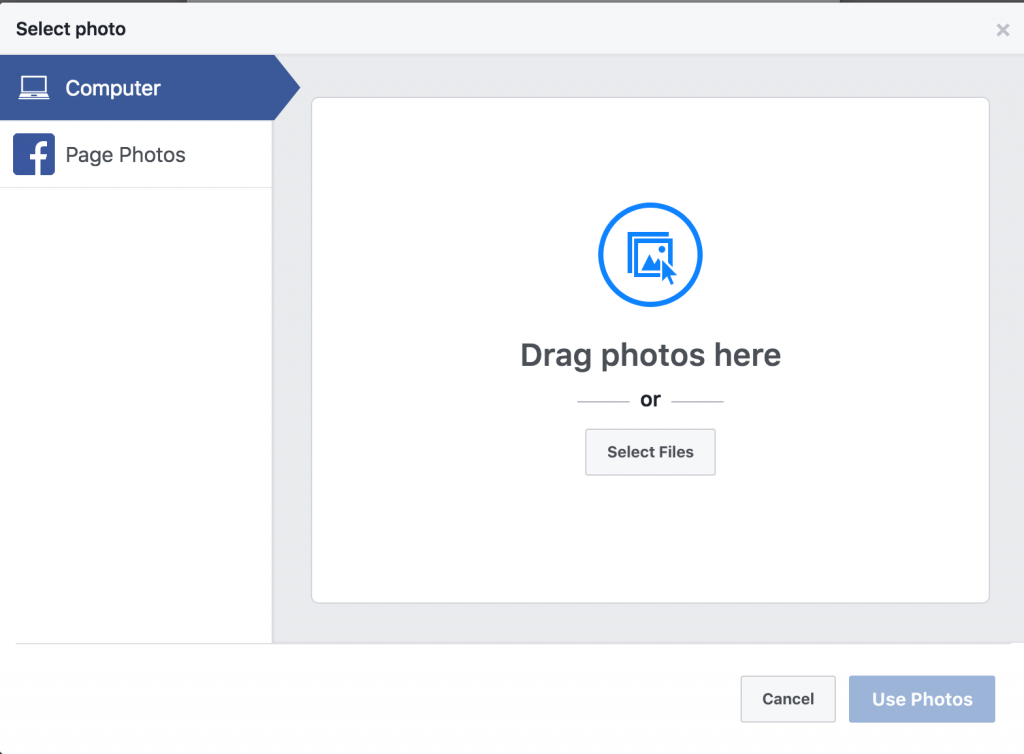
The photo or video will then drop in to the top left hand side, you can then commence adding the rest of the information
- Name
- Price of the product (you cannot add a from here)
- Whether or not the product is on sale
- A description of the specific product
- A link to where the consumer can purchase the product, on our case the membership join page here
Don’t forget to save!
After you have added all this information and “saved” it takes a few minutes for Facebook to “process”, don’t add it again like I did! or you’ll end up with 3 products the same that you have to delete.
You’ll then end up with each product you create looking like this on your page
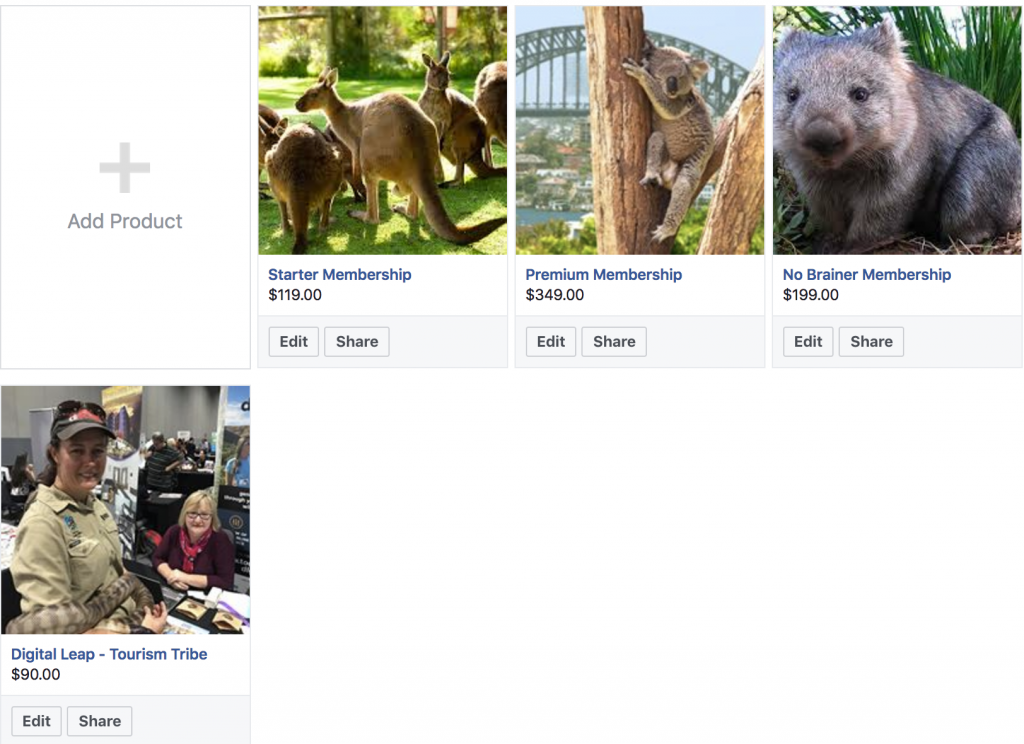
You can then “Share” by clicking the share button under the product you want to share.
Just like normal posts you can select whom you want to share with.

The go ahead and add what you want to say. I created this for our newsfeed.
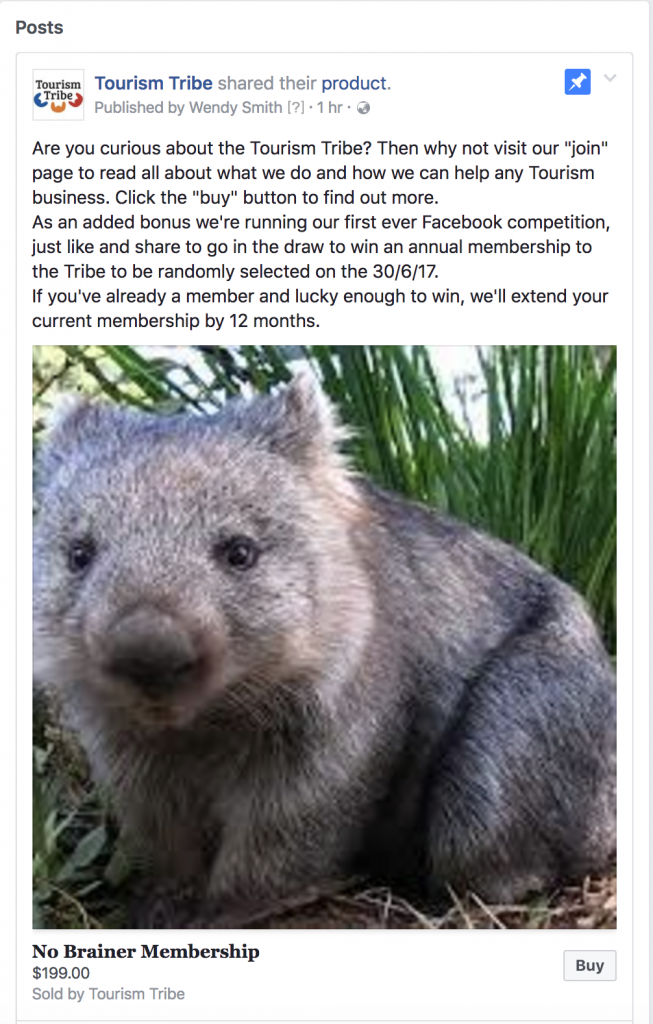
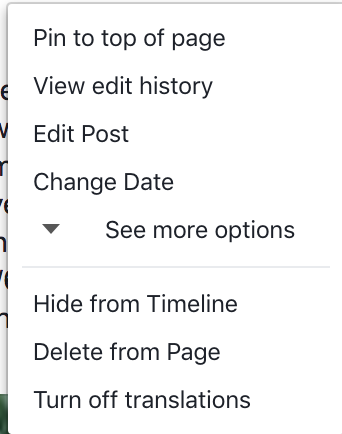
I also “pin to the top” to maximise exposure, you do this by selecting the pin top right, you can reverse this by unpinning when your are ready.
The last thing I think is important in creating the “shop” is creating a collection, this is simply where you group together products. An example where this might be of value is if you have one Facebook page for accommodation but you also run an attraction on site with an entry fee.
You do this by

- Hit the “add collection” button
- Create collection and save
- Add products and save
- You can set the visibility and order they appear here
Where to from here?
Top AI Tools for the Tourism Industry - Free cheatsheet


